How can you make great campsite coffee?
23 September, 2019
Coffee. We love it, but cheap machines and instant coffee are still pretty standard at campsites – which is a shame! It’s so easy and inexpensive to have a great morning cup on your camping holiday. As a coffee nerd, I’ve put together my tips for making the best coffee at the campsite.

You wake up and step out of your caravan or tent in the morning, ready for a delicious breakfast. You grab a fresh baguette, top it with delicious jam or butter, the sun is shining – there’s no room for a weak or bitter cup of coffee in that moment of pure joy, is there? Instant coffee and cheap machines are rarely the answer. With the right equipment and a few useful facts, you can take your camping coffee to the next level.
1. Decide how you’re going to make your coffee
Your first step towards ‘a better cup’ at the campsite is to decide how you want to make your coffee. Three easy methods are the Aeropress, pour over, and the French press. These techniques use convenient devices that you can use both indoors and outdoors, and with a little practice, there won’t even be any mess. Here are some simple instructions and practical tips to get you started.
Aeropress
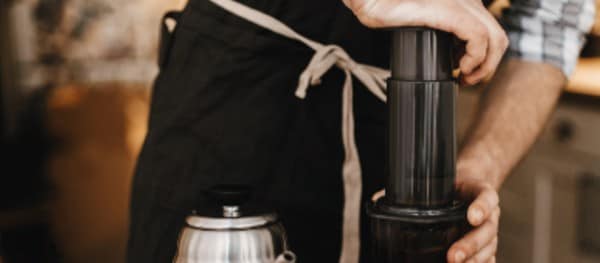
The Aeropress is a compact tube that takes up almost no luggage space. With this method, you put your coffee grounds and water in the tube that gives you a filter. Stir, wait one to two minutes, and then place the upper half on top. This will push the coffee down into your coffee cup.
The instructions for this device are very clear. Practise a few times and you’ll figure it out. The Aeropress is also very user friendly. You don’t have to be a trained barista to make a cup properly. Clean-up is a snap, and with 350 filters included, you’re sure to make it through your holidays.
The only drawback of this technique is that you can only make one large mug of coffee at a time. It will take some time to treat the whole family to that black gold. You also need to make sure you have a solid, stable surface. If you’re tent camping and you don’t have a table handy, it can get messy. The Aeropress usually costs between 30 and 40 euros.
Pour over
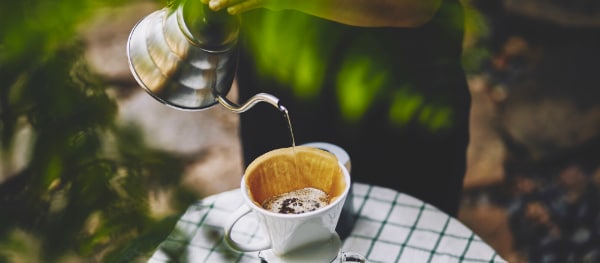
Pour over, isn’t that old-fashioned? Well, pour over coffee is back in style, and it produces delicious coffee. In terms of price, this is a very accessible method. You can get a filter holder for just 10 euros, and paper filters will only set you back a few euros at the supermarket. Depending on the size of the filter holder, you can also use it for larger groups.
This is a very simple method: pop a filter holder and filter on the coffee pot, throw in some coffee grounds, and get pouring. But a good, clean pour can be a challenge when you’re camping. A wobbly table or a strong gust of wind can put you off balance, so it’s best to find a quiet spot and a stable surface for the best results.
My favourite filter holder for camping is the Kalita Wave. The main advantage is its wide margin for error. Even less-than-ideal technique will give you a good cup of coffee, which means your wobbly table won’t be such a big deal. With a price tag of € 40 for the 500 ml version, it’s a bit on the expensive side.
French press
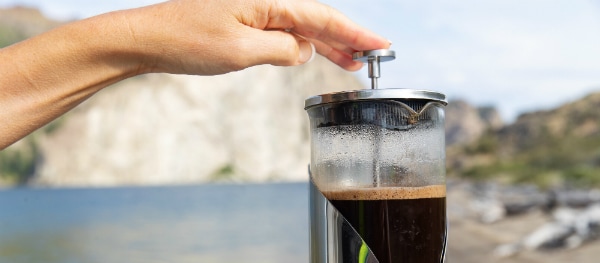
This little beauty is also known as the cafetière or pressure pot. Coarsely ground coffee is placed in a cylindrical pot, followed by hot water. Stir well and after one minute, put the lid and plunger on. Wait three to four minutes, press the plunger down gently and evenly, then serve the coffee.
French presses are often made of glass, but there are also a range of stainless steel models and convenient versions available. These are better suited for camping holidays, as they can take a beating. They are also available in all sizes. Pick a size that fits both your luggage space and the number of coffee drinkers travelling with you.
One downside of the French press is that it’s a bit more difficult to clean than the others. You can’t simply throw the paper filter away – all the coffee grounds are still in the pot when you’re done. Immediately throw the leftover sludge away in a rubbish bag and wash everything thoroughly with water, a sponge, and a little soapy water.
2. The right ratio of coffee to water
Whichever method you choose, a ratio of 1:17 is a good starting point. That means 1 gram of coffee for every 17 millilitres of water. If you’re using 250 millilitres of water (good for about two cups), that means you need about 15 grams of coffee. Forgot to bring your scales camping? Start with a tablespoon of coffee per cup and test it out until it suits your taste.
Of course you can always adjust the ratio of coffee to water. If you want it a little stronger, just add a bit more coffee…
3. The importance of water quality
Your cup of coffee is more than 98% water. So it’s no surprise that water is an important factor in the quality of your coffee. Just because the water is safe to drink on holiday doesn’t mean you’ll be able to make the best coffee with it. Water quality can even vary per region. It pays to try it with bottled water and taste the difference yourself!
4. Do you want to bring beans or grounds to the campsite?
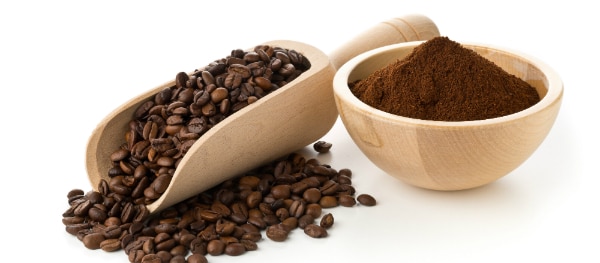
Grounds
Almost everyone at a campsite makes their coffee with beans that have already been ground. Usually when you’re working with familiar coffee, you know it’ll be good. That approach certainly has its advantages. You can get right to making your coffee and you know there won’t be any surprises.
Would you like to add a new dimension to your coffee at the campsite? Buy good, high-end coffee at a coffee shop and have it ground just before you leave. Good coffee doesn’t cost that much, and you’ll enjoy it every day. Let the shop know how you make your coffee so the consistency of grind can be adjusted accordingly. Try it at home first and bring your regular coffee along, too. That way you’ll be sure to avoid a coffee crisis.
Whole beans
Whole coffee beans have two major advantages: you can get the best out of the coffee and you have a lot of control over the taste. But there’s a lot more to it than that. First of all, you need to buy a burr grinder. Prices start at around € 50. I don’t recommend buying a cheap model. The grinder is one of the most important factors in determining coffee quality.
But you won’t get there with equipment alone. You’re really going to have to delve into the world of coffee. Make a lot of bad cups at home until you get the hang of it. Do you get as excited about coffee as you do about camping? Then it’s a wonderfully interesting learning process that can easily morph into a hobby. Your travel companions will thank you every morning!
5. Extra tips for making coffee at the campsite
- Let boiling water cool for a minute. That way the temperature drops a little and you avoid a bitter taste.
- If you use a paper filter, wet it before using it. That way, there’s no paper taste in your coffee.
- Don’t pour all the water on your coffee right away, just wet the coffee particles a little at first. Wait 30 seconds and then pour in the rest of the water. This process is called blooming and ensures that your coffee releases all its aromas evenly.
- Make extra hot water to preheat your coffee cups. The temperature of your coffee can drop by up to 10 degrees in a cold cup. With milk or sugar and a cold spoon, it can sink even further.
- Use a medium to fine grind for Aeropress and bulk coffee. Use your French Press for a more coarse grind.
- Get in plenty of practice at home before you travel. Warm up a few times and you’ll be the coffee king – or queen – of the campsite.
- Did you know that there are even world championships for Aeropress coffee making? You can check out and try out all of the champions’ recipes on the official website.
How do you take your coffee?
Inspired? Or maybe you’re already full of ideas about campsite coffee. Let us know, we’d love to hear from you!



Latest comments